In this article we will look at the steps of How to Download and Install Visual Studio Code on Windows and Mac operating systems.
For the development of each programming language, there are multiple IDE (Integrated Development Environment) available. For JavaScript also there are numerous IDEs, and Visual Studio Code editor is one of them. It is a lightweight but strong source code editor that runs on your desktop and is available for Windows, macOS, and Linux. Visual Studio Code has built-in support for JavaScript, TypeScript, and Node.js. It has an extensive ecosystem of extensions for other languages (such as C++, C#, Java, Python, PHP, Go) and runtimes (such as .NET and Unity). At ToolsQA we are using VS Code for Protractor, Cypress, JavaScript, etc. In this article
We will cover the below topics in this article:
- How to download and carry out installation the Visual Studio Code?
- Procedure to install the Visual Studio Code on macOS?
- How to install Visual Studio Code on Windows?
- What are the essential components of the VS Code?
- What are the language-specific features provided by VS Code?
How to download and carry out the installation of the Visual Studio Code?
Getting up and running with Visual Studio Code is swift and straightforward. It is a small download so you can install it quickly and give the VS Code a try. VS Code is a free code editor. Additionally, it runs on the macOS, Linux, and Windows operating systems. Let's see how we can set up the same in the different platforms we use.
The first step is shared across all the platforms irrespective of any OS you are using.
Download Visual Studio Code:
You can download Visual Studio code from URL "https://code.visualstudio.com/download" by selecting the right platform:
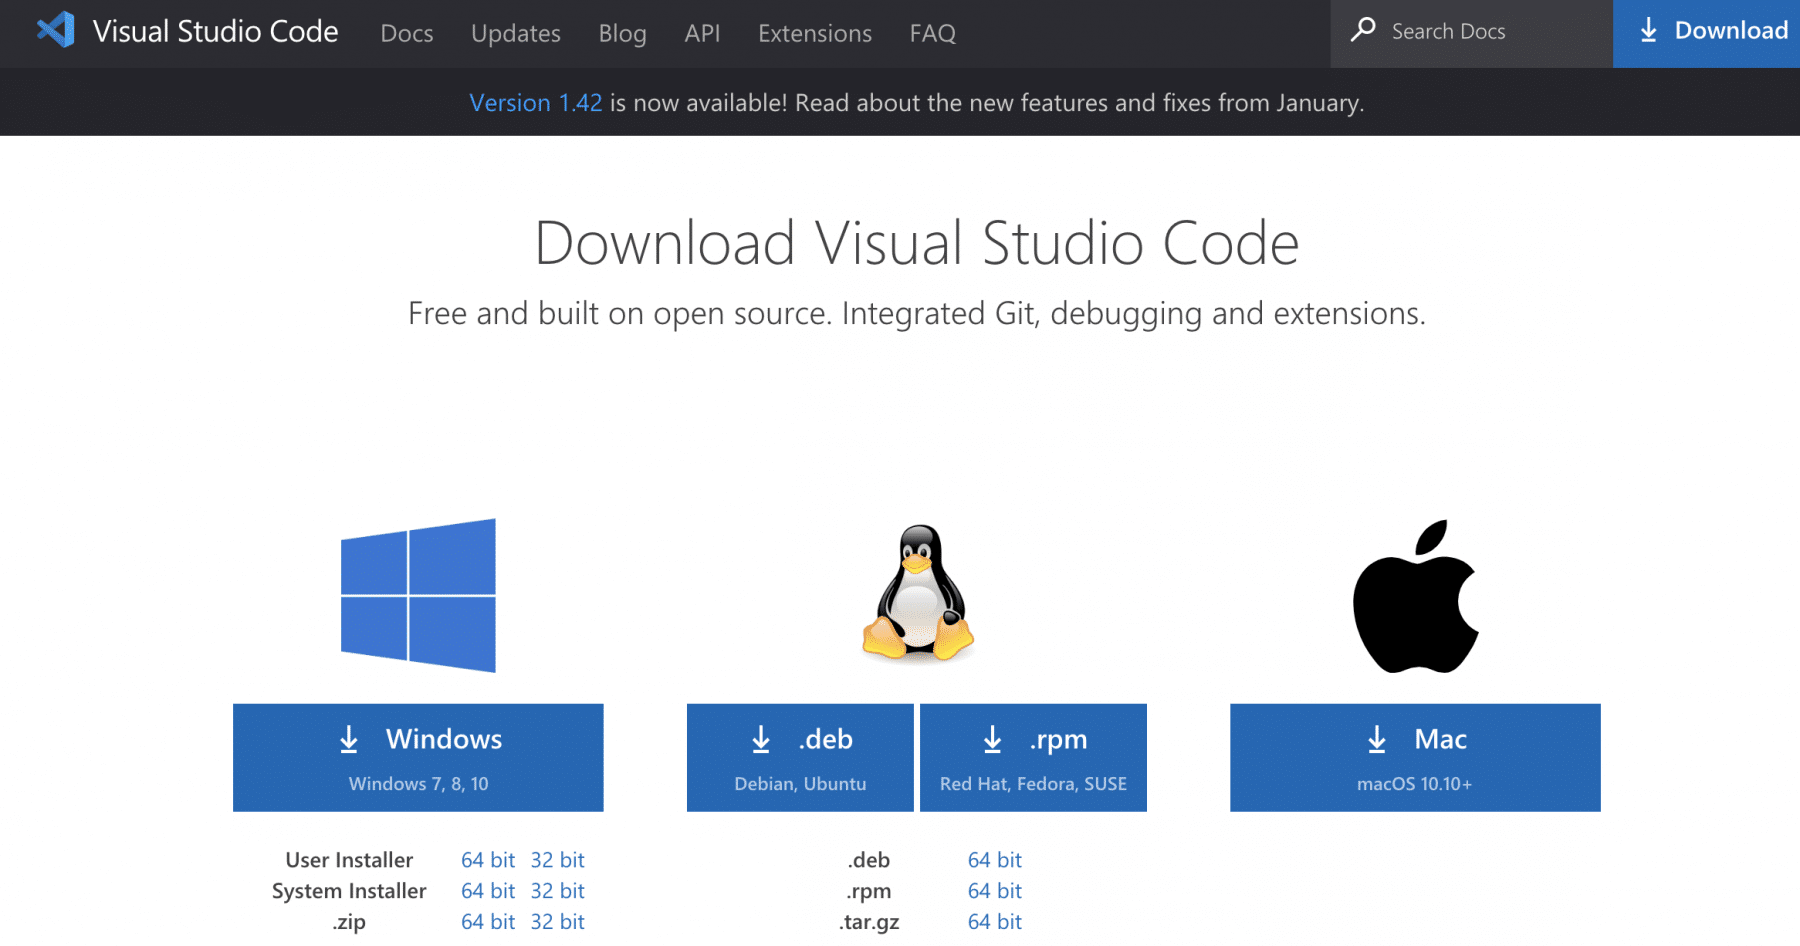
You can click any of the icons mentioned above, depending on the operating system for which you are planning to download the visual studio code editor.
How to install Visual Studio Code on macOS?
Follow the below steps*(shown in gif file and mentioned in bullet points)* to install the VS Code on macOS:
- Download Visual Studio Code for macOS.
- After clicking on the Mac option on the download site, it will download a zip file, as shown below:
- Double-click on the downloaded zip to expand the contents. It will give a file, as shown below:
- Drag "Visual Studio Code.app" to the "Applications" folder, so as it available in the "Launchpad."
- Double click on the "Visual Studio Code" to open.
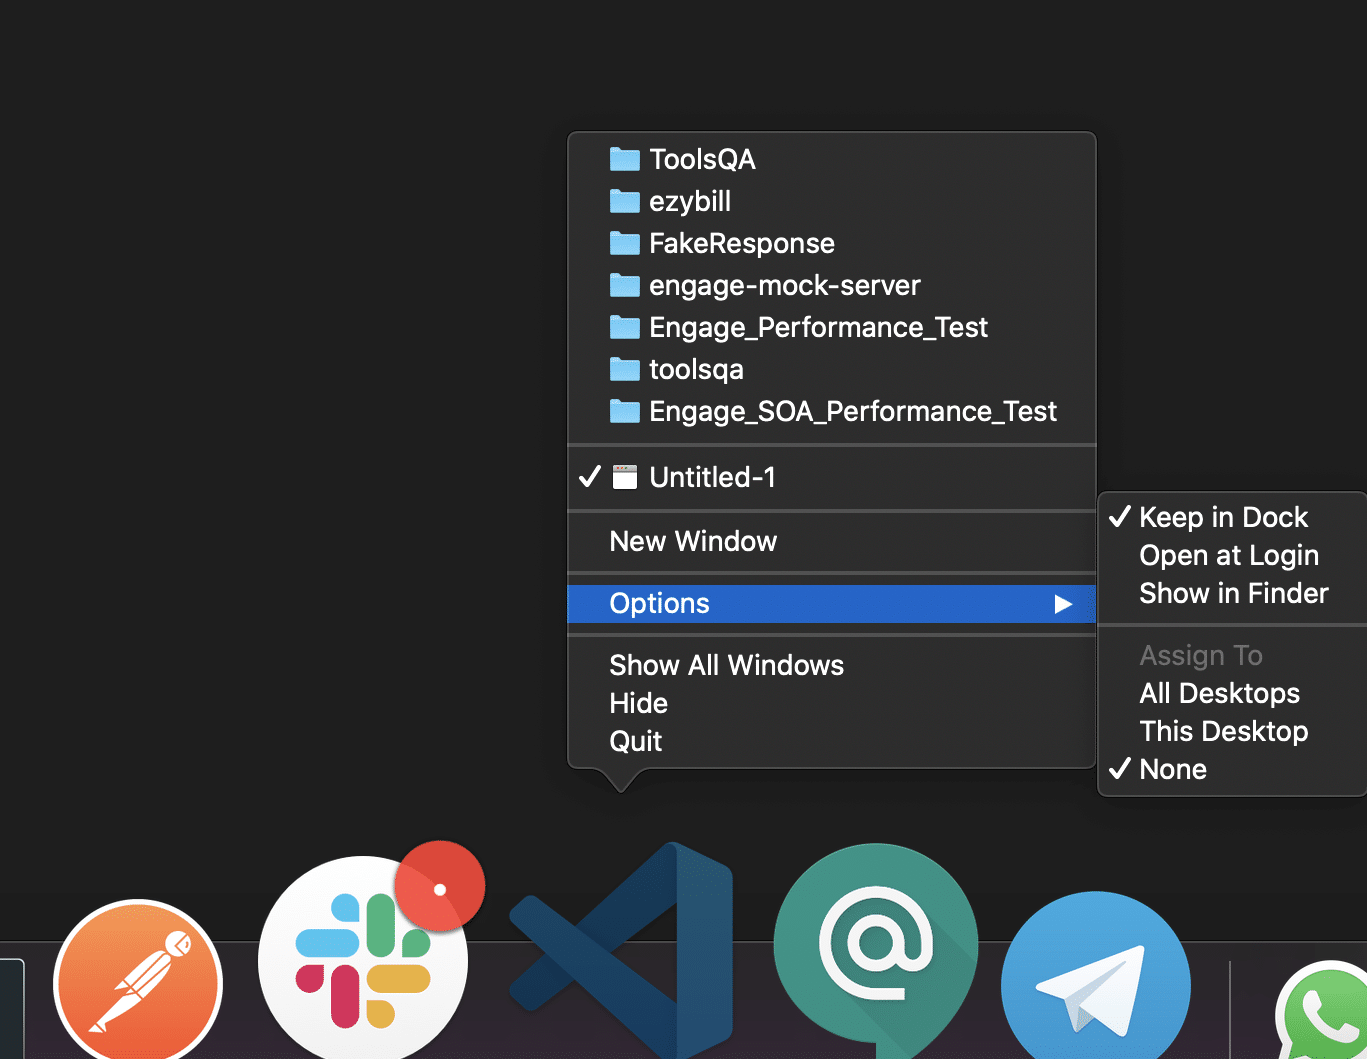
- Add VS Code to your Dock by right-clicking on the icon to bring up the context menu and choosing Options => Keep in Dock.
How to Install Visual Studio Code on Windows?
Firstly, download the Visual Studio Code installer for Windows. Once it is downloaded, run the installer (VSCodeUserSetup-{version}.exe). It will only take a minute.
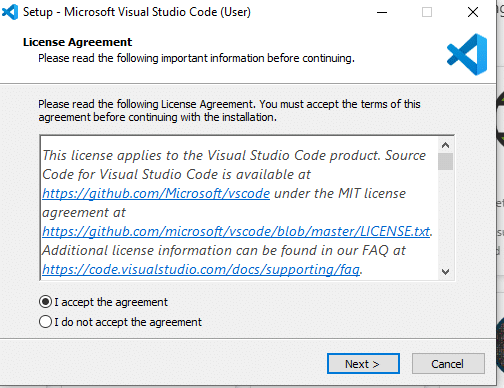
Secondly, accept the agreement and click on next.
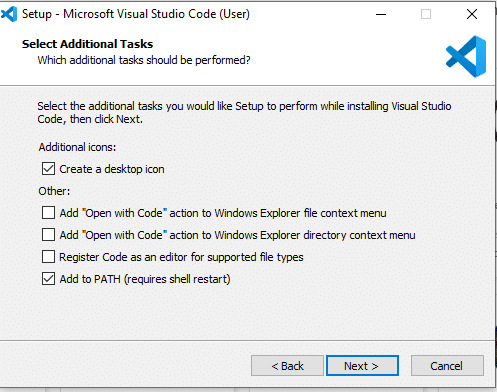
Thirdly, click on "create a desktop icon" so that it can be accessed from desktop and click on Next.
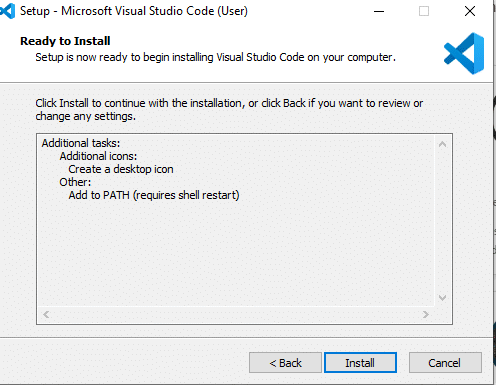
After that, click on the install button.
Finally, after installation completes, click on the finish button, and the visual studio code will get open.
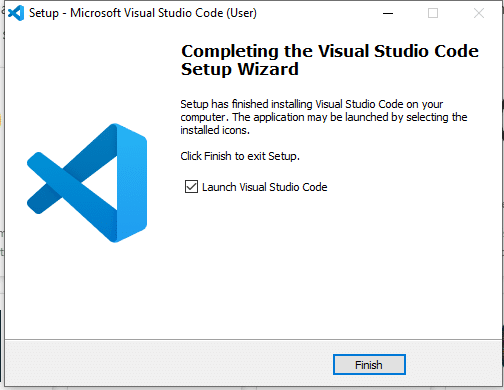
By default, VS Code installs under C:\users{username}\AppData\Local\Programs\Microsoft VS Code.
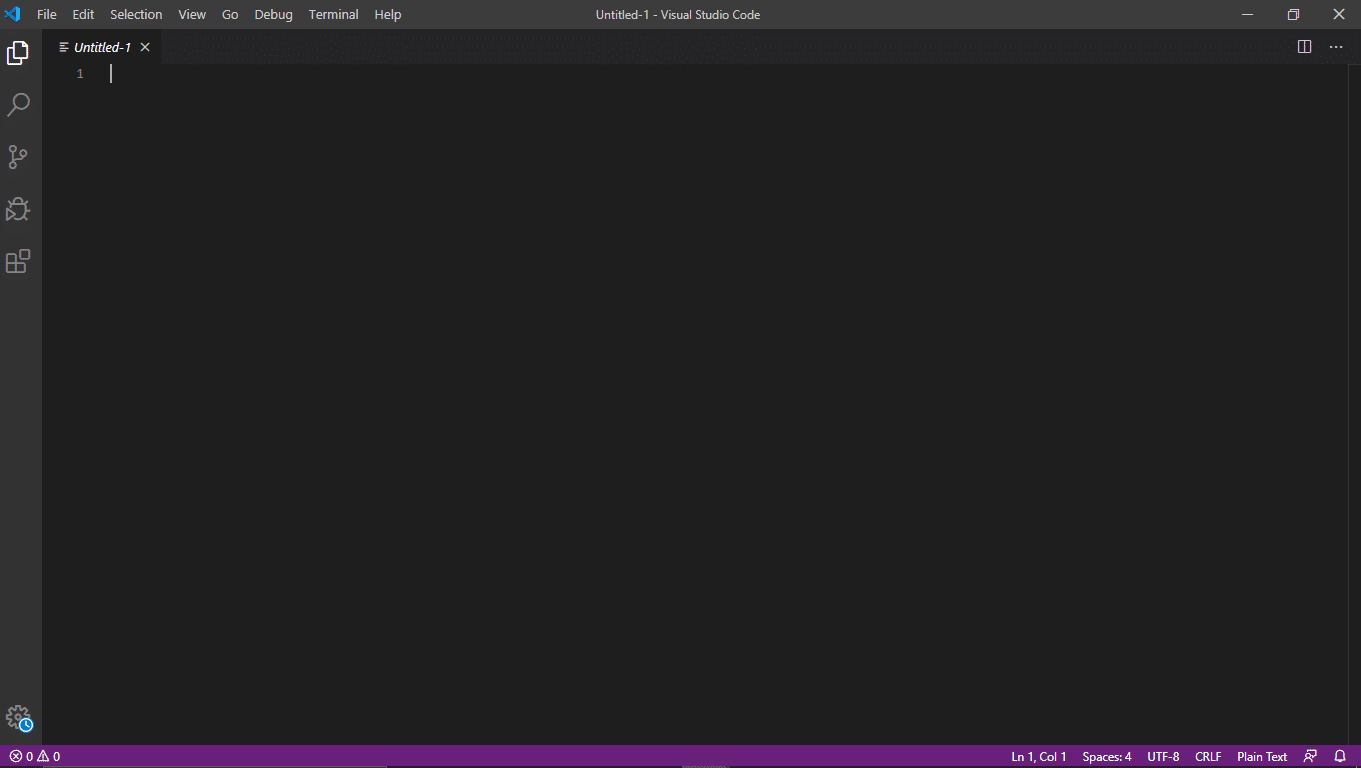
After the successful installation, let's move to the next section to understand the various components of the User Interface of Visual Studio Code Editor.
What are the essential components of the VS Code?
Visual Studio Code is a code editor at its core. Like many other code editors, VS Code adopts a standard user interface and layout of an explorer on the left, showing all of the files and folders you have access to. Additionally, it has an editor on the right, showing the content of the files you have opened. Below are a few of the most critical components the VSCode editor:
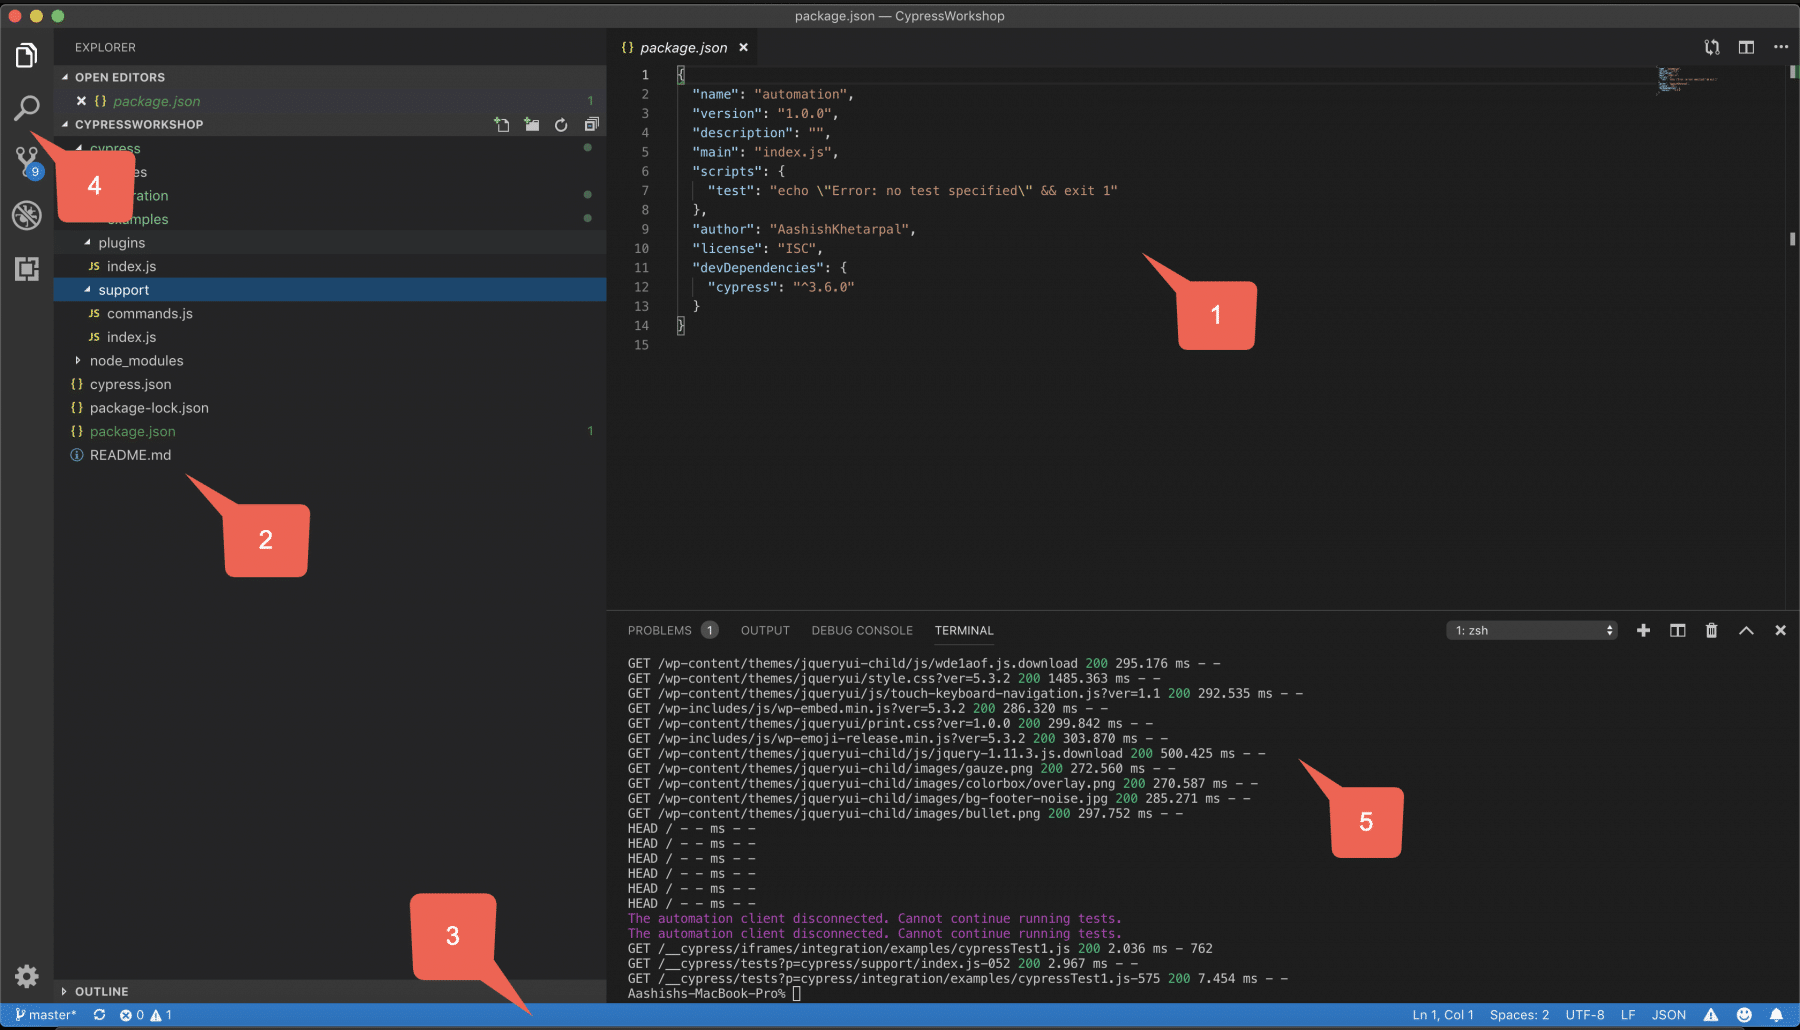
VS Code comes with a straight-forward and intuitive layout that maximizes the space provided for the editor while leaving ample room to browse. Additionally, it allows access to the full context of your folder or project. The UI is divided into five areas, as highlighted in the above image.
- Editor - It is the main area to edit your files. You can open as many editors as possible side by side vertically and horizontally.
- SideBar - Contains different views like the Explorer to assist you while working on your project.
- Status Bar - It contains the information about the opened project and the files you edit.
- Activity Bar - It is located on the far left-hand side. It lets you switch between views and gives you additional context-specific indicators, like the number of outgoing changes when Git is enabled.
- Panels - It displays different panels below the editor region for output or debug information, errors, and warnings, or an integrated terminal. Additionally, the panel can also move to the right for more vertical space.
VS Code opens up in the same state it was last in, every time you start it. It also preserves folder, layout, and opened files.
What are the language-specific features provided by VS Code?
Visual Studio Code supports the maximum of the modern programming languages. It provides various features that can be language-specific but are available in almost all the supported programming languages. Few of them are:
- Syntax highlighting and bracket matching: Syntax highlighting determines the color and style of source code displayed in the Visual Studio Code editor. Moreover, it is responsible for colorizing keywords like if or for in JavaScript differently than strings and comments and variable names.
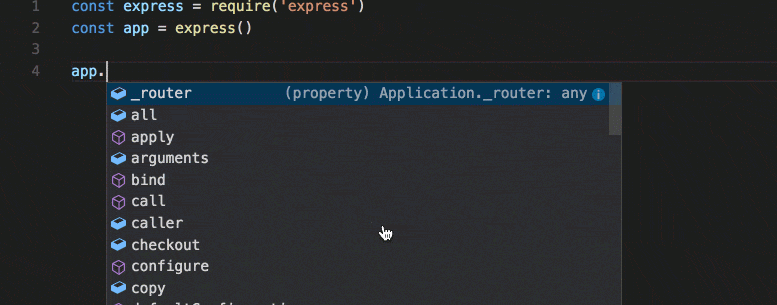
- Smart completion (IntelliSense): IntelliSense is a general term for a variety of code editing features, including code completion, parameter info, quick info, and member lists. Other names of IntelliSense features are "code completion," "content assist," and "code hinting." The below gif file shows a sample of the feature:
- Linting and corrections: Linters provides warnings for suspicious-looking code. While VS Code does not include a built-in linter, many linter extensions available in the marketplace.
- Code navigation (Go to Definition, Find All References): Code navigation lets you quickly navigate JavaScript projects.
- Go To Definition F12 - It asks you to Go to the source code of a symbol definition.
- Peek Definition ⌥F12 - Bring up a Peek window that shows the definition of a symbol.
- Go to References ⇧F12 - Show all references to a symbol.
- Go to Type Definition unassigned - Go to the type that defines a symbol. In other words, for an instance of a class, this will reveal the class itself instead of where the instance is defined.
- Debugging: VS Code comes with great debugging support. Additionally, you can set breakpoints, inspect objects, navigate the call stack, and execute code in the Debug Console.
- Refactoring: VS Code includes some handy refactorings such as Extract function and Extract constant. Just select the source code you'd like to extract and then click on the lightbulb in the gutter or press (⌘.) to see available refactorings. Available refactorings include:

- Extract to method or function.
- Extract to constant.
- Convert between named imports and namespace imports.
- Move to a new file.
Key Takeaways
- Visual Studio Code is a lightweight but strong source code editor that runs on your desktop. Additionally, it provides built-in support for Javascript.
- Moreover, it provides a very intuitive UI interface. Additionally, there is proper organization of all the sections because there is ample room to browse and access the full context of the project.
- Also, VSCode provides many language-specific features such as Intellisense, Syntax highlighting, etc. Which, in turn, makes the life of a developer very easy.


