Till now we have understood what Git is and how to create a Git repository. It will be great to take a quick look at the life cycle of files in a Git repository. It is important for us to have an abstract idea of the different stages of Git before going into more detailed understanding of Git. In this tutorial it is expected that you create a mental map of different stages in Git life cycle.
Before proceeding with this tutorial, it'd be helpful to go through following tutorials first:
Stages in GIT Life Cycle
Files in a Git project have various stages like Creation, Modification, Refactoring, and Deletion and so on. Irrespective of whether this project is tracked by Git or not, these phases are still prevalent. However when a project is under Git version control system, they are present in three major Git states in addition to these basic ones. Here are the three Git states:
- Working directory
- Staging area
- Git directory
These stages are the essence of Git. You get great flexibility in tracking the files due to these stages that files can reside in under Git. Let's understand each of these states one by one.
Working Directory
Consider a project residing in your local system. This project may or may not be tracked by Git. In either case, this project directory is called your Working directory.
Working directory is the directory containing hidden .git folder.
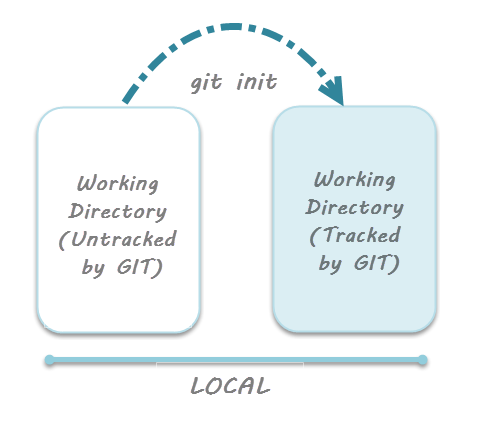
Note: git init - Command to initialize a Git repository
For sake of further discussion, let's assume that this directory is now tracked by Git. That is we've created a Git repository in this existing project directory. So, as discussed in the tutorial on Creation of Git Repository, a hidden .git folder is initialized therein. In this state, Git is just aware of the files in the project. It doesn't track the files yet. To track the files, we've to commit these files by first adding the files to the staging area. This brings us to the next state in Git life-cycle.
Staging Area
While we're in the working directory, we select the files that have to be tracked by Git. Why do we need to this? Why don't we track everything in the project? That's because some files in the project like class files, log files, result files and temporary data files are dynamically generated. It doesn't make sense to track the versions of these files. Whereas the source code files, data files, configuration files and other project artifacts contain the business logic of the application. These files are to be tracked by Git are thus needs to be added to the staging area.
In other words, staging area is the playground where you group, add and organize the files to be committed to Git for tracking their versions.
It's important to make a quick note of the term called indexing here. Indexing is the process of adding files to the staging area. In other words, index constitutes of files added to the staging area. This term will be explained again in the coming tutorial on Git terminologies.
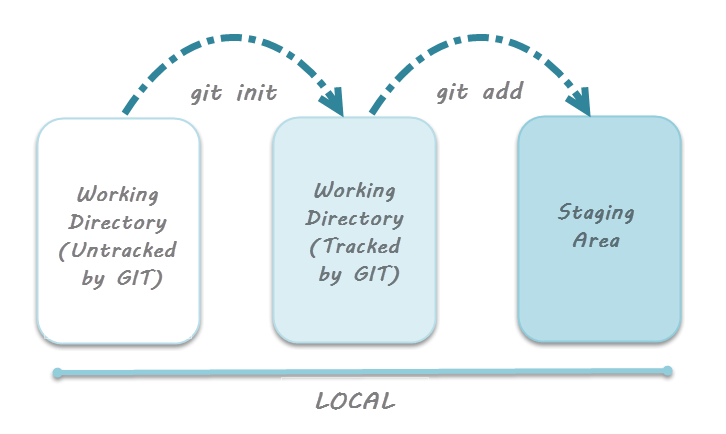
Note: git add - Command to add files to staging area.
Git Directory
Now that the files to be committed are grouped and ready in the staging area, we can commit these files. So, we commit this group of files along with a commit message explaining what is the commit about. Apart from commit message, this step also records the author and time of the commit. Now, a snapshot of the files in the commit is recorded by Git. The information related to this commit (names of files committed, date and time of commit, author of commit, commit message) is stored in the Git directory.
Thus, Git directory is the database where metadata about project files' history will be tracked.
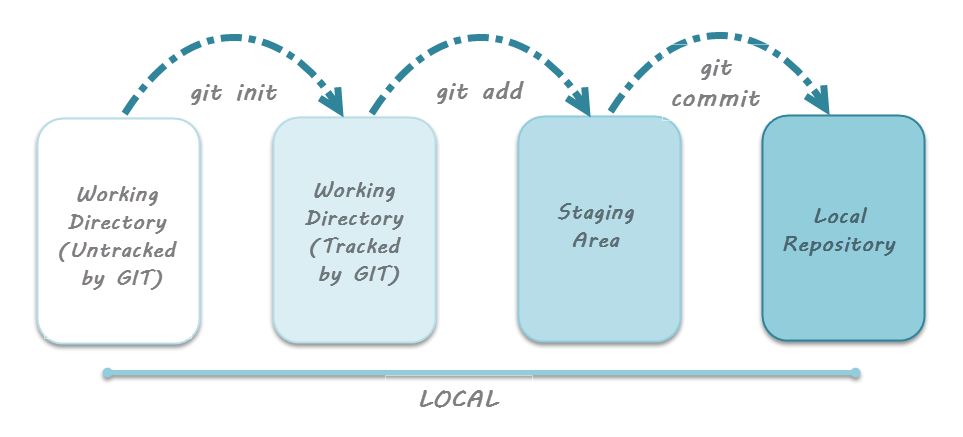
Note: git commit -m"your message" - Command to commit files to Git repository with message.
Additional Lifecycle Stage with Github
Now mind that we’re learning the lifecycle in Git exclusively. That is, it’s important to note that the three stages discussed above are only for Git and not Github. Why? Because as explained in the tutorial on What is Git and Github? you can track versions of your files by using only Git. That is, Github is needed when you want to collaborate and publish your code to a team or community. Thus, it helps to remember that the Git cycle doesn't conventionally involve Github.
However, we work in teams and collaborate with multiple people on a given project. This makes it imperative to understand the additional stage related to Github. While dealing with Github, there’s a concept of Remote repository and a related process called Pushing the files.
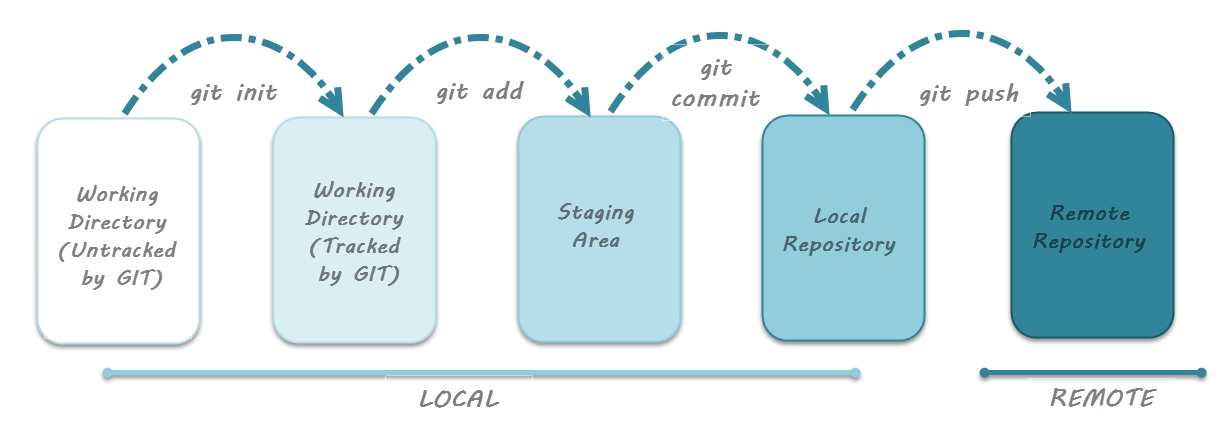
As seen in the image above, after committing the code to the local Git repository, it has to be pushed to remote repository. Here, Remote repository means mirror or clone of the local Git repository in Github. And pushing means uploading the commits from local Git repository to remote repository hosted in Github. This will allow other collaborators to view the code. Thus, whatever changes you make in the local Git repository will be visible to other collaborators when you push your code to the remote repository. Command to push the code to remote repository in Github is git push.
Note: git push - Command to push commits from local Git repository to remote Git repository hosted in Github.
Need of Staging Area
After learning about these stages, one might naturally ask – Why is staging area required? Why can’t we directly commit the code instead of first adding it to the staging area? Let’s understand the reason behind this with help of following points:
- Faster Git operations - Staging files regularly yields in very fast Git operations. A commit is essentially a resource-expensive interaction with the Git database. For those with background of SVN (a Client-Server model based VCS) know that every commit requires considerable time. This is because it has to first traverse the SVN commit tree to check if there have been any commits made by other users before the last commit made by us. Consequently, commit operations tend to be slow. However, in case of Git, staging the files doesn't need interaction with the Git database. It's only when the files have to be committed that Git check for presence of commits made by other users. Thus, staging helps in recording the changes even before committing them to Git database.
- Visualizing the commit before actual commit - As discussed earlier, staging area is the state in which the files reside before they're committed. That is, staging area actually lets you visualize the group of changes that will be recorded by Git. Essentially this gives you fine-grained control over what gets committed to Git and what does not.
- Splitting work into separate related commits - Apart from the first commit when all the project files are committed at once, you should record (take snapshot of the project) at regular intervals. That is, suppose you're working on a new feature whose timeline of development runs into several days. So, while you're working on the feature you are required to refactor a small part of the code. In this case, you can quickly make the required changes, stage the required file and resume work on the feature. All of the changes i.e. feature changes and refactor code can be committed at once from the staging area.
With this background in mind, let's now proceed towards learning some crucial terminologies related to Git in the next tutorial.
