Starting a new automation project for a website can be complicated and requires a steep learning curve, especially to those who are new to the automation testing. The following tutorial will help you ease that process using Katalon Studio.
Test Scenario
For this tutorial, we are using Katalon Studio to test the dummy web app (CURA) accessible at http://demoaut.katalon.com. CURA is a simple health care service allows patients to book appointments with doctors.
In this tutorial, we create a test case to test the following flows
1. Login
2. Book an appointment
3. Check if the appointment is booked successfully
4. Logout
Get Started
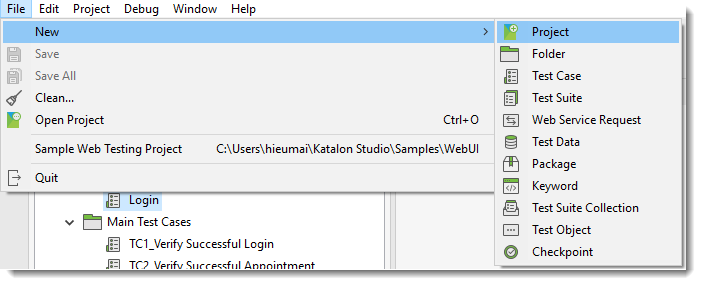
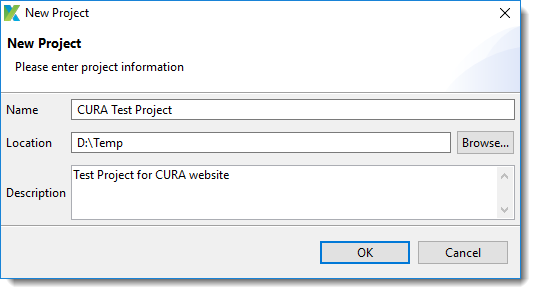
- Create an automation testing project in Katalon Studio as below:
- Create a test case, where all your necessary test steps of a scenario will be written:
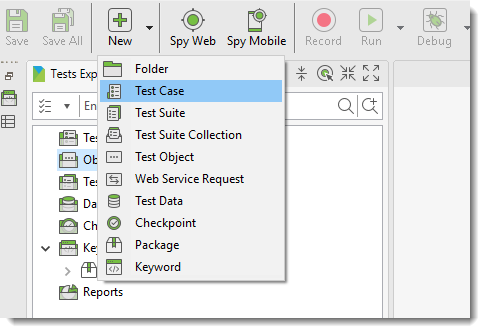
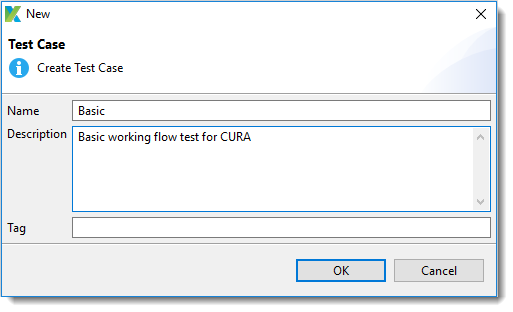
The newly created test case is generated in form of a Groogy language script file (also called test script) which can be viewed, edited in Katalon Studio by one of two view modes: Manual View (https://goo.gl/EBM85e) and Script View (https://goo.gl/Xkcugy).
You can start writing your testing logic from scratch.
- Composing automation test case
Please refer to this guide for detailed instruction to compose test steps in various modes using different utilities. For a starter, we recommend Record – Playback function to get familiar with the scripting process. Katalon Studio Recorder is capable to generate test steps quickly and users can just focus on validation steps.
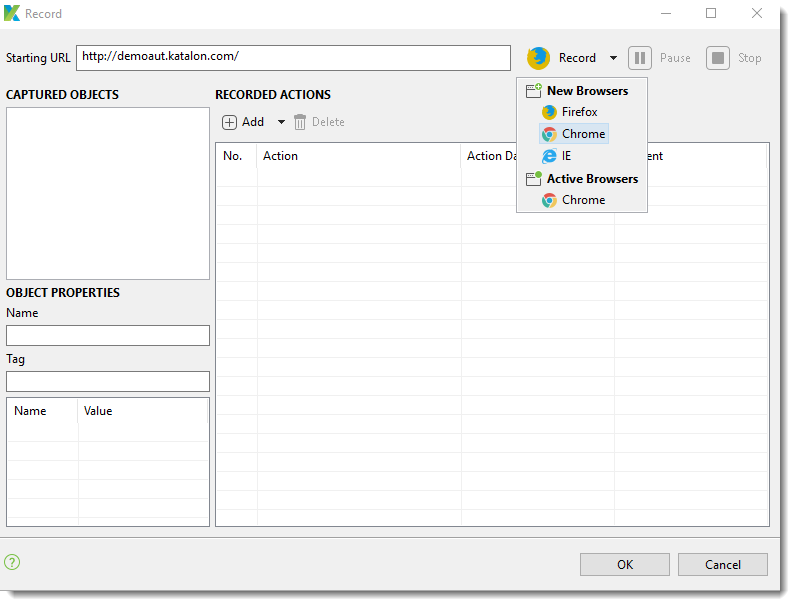
i) Click on the Record Toolbar button to open the Record dialog, then enter http://demoaut.katalon.com for the URL field and select Chrome on the dialog to start recording.

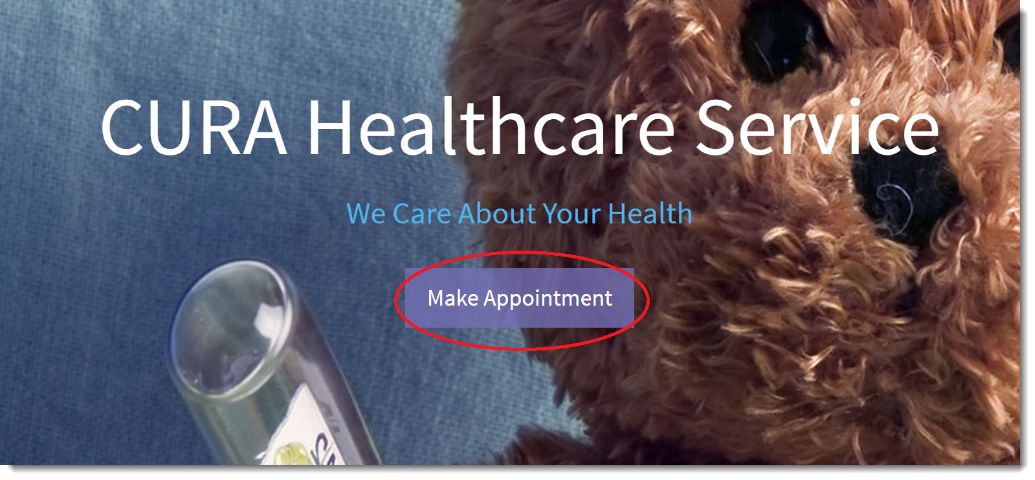
ii) A new Chrome browser instance with the CURA website will be activated. Click on Make Appointment button.
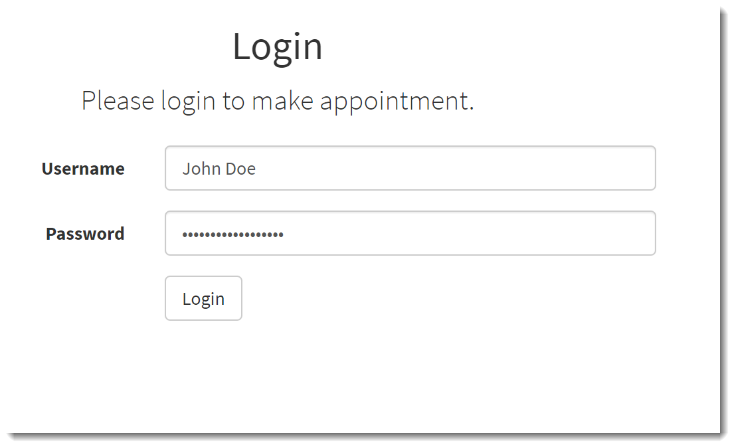
iii) Enter “John Doe” for username and “ThisIsNotAPassword” for password on the login page.
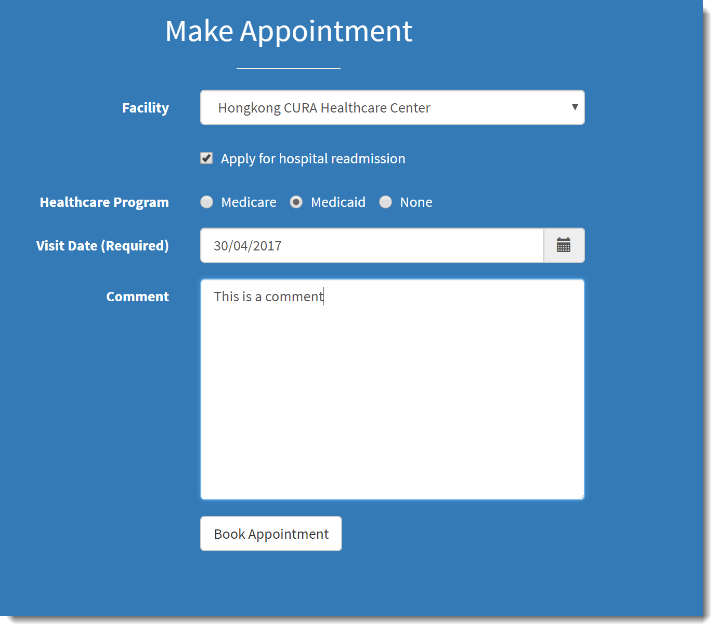
iv) On the Make Appointment page, fill in necessary appointment information and click on the Book Appointment button to book an appointment.
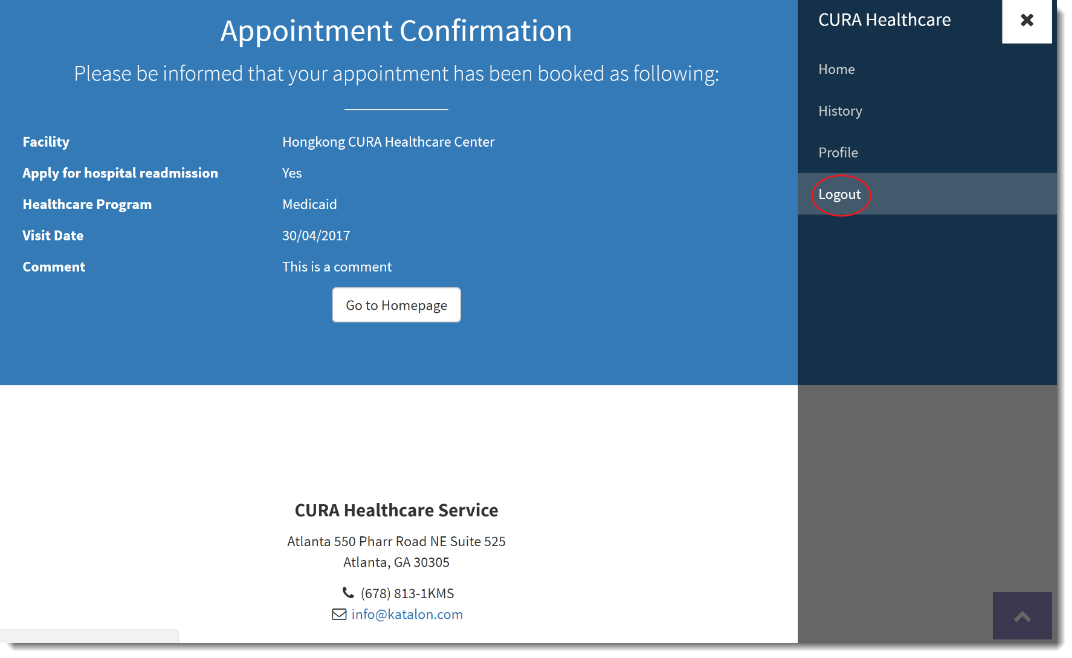
v) The Appointment Confirmation page will show up. Click the Logout button to complete the recorded session.
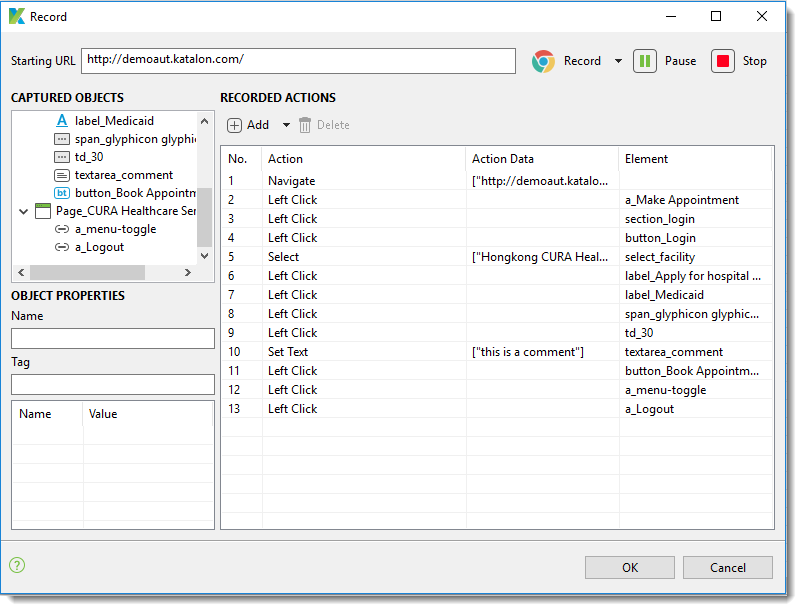
vi) Switch back to Katalon Studio Record dialog and you can see all the actions and web elements recorded. Click on OK to finish the recording and generate necessary test artifacts and test scripts.
vii) The recorded test scripts can be playback instantly and you can start the automation test right away. Click the Run button with Chrome to start running your test case.
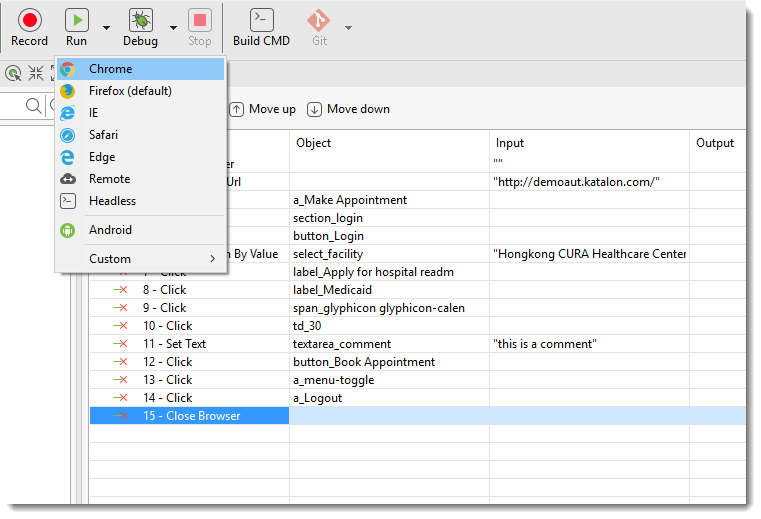
The recorded test scripts should run smoothly, but you will notice the test is failed at step 14 (Click on “a_Logout” element) with the error message “Unable to click on object 'Object Repository/Page CURA Healthcare Service (3)/a Logout'. Don’t worry, this can be fixed using the following steps.
- Complete your first test case
If you investigate the failed message of the test execution, it includes the message “org.openqa.selenium.WebDriverException: unknown error: Element is not clickable at point”.
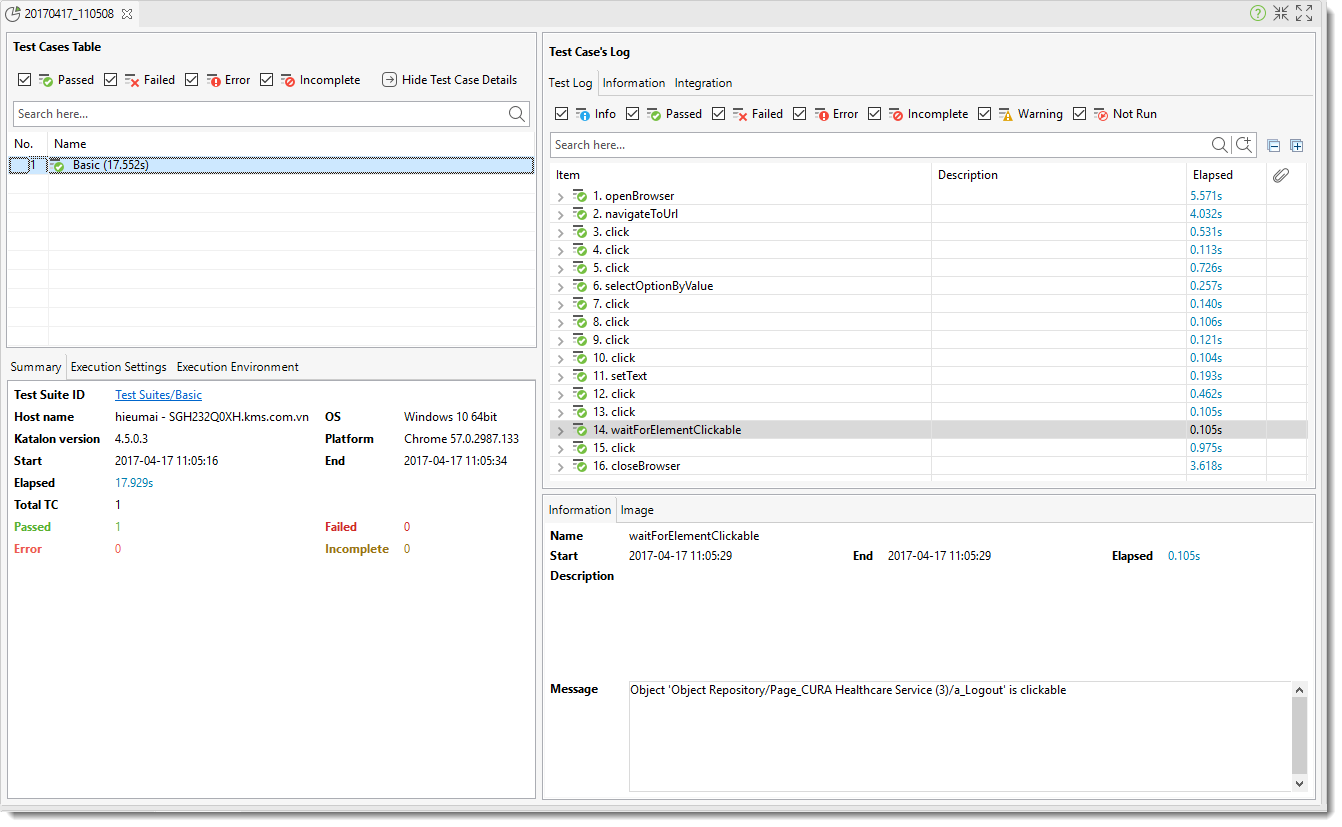
It happens because the Side Menu of CURA website is open, and the animation causes theLog out element to appear slowly and Katalon Studio’s playback is unable to recognize it. To fix this issue, we need to include a Wait step right before the logout step using the keyword waitForElementClickable, use “a_Logout” element as the object and change the timeout input to 5 seconds.
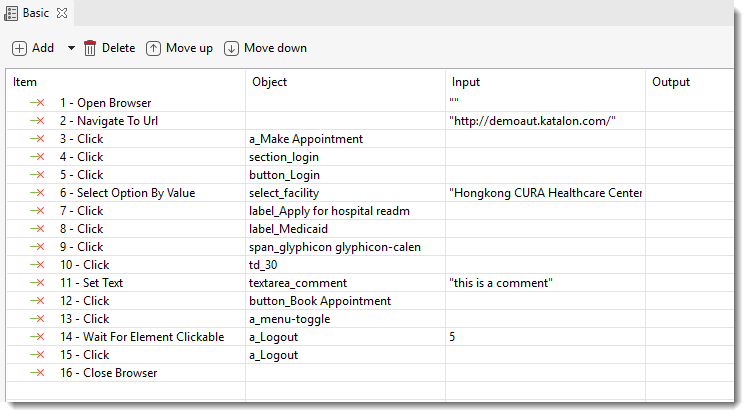
Run the test case again, you will see the Log out button is found and the step is passed.
- Generate a report
To generate the test reports, we need to have a test suite. Test suite in Katalon Studio is where you can group test cases to run them together. To create a test suite in Katalon Studio, click on the New toolbar button and select the New Test Suite item.
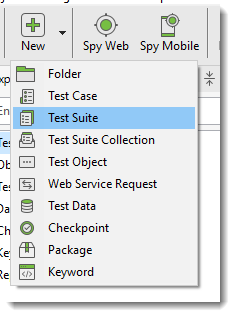
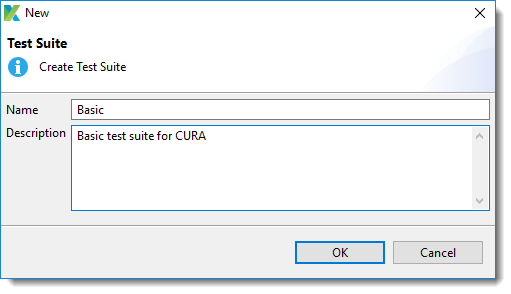
In the New Test Suite dialog, enter the required name and an optional description about your test suite, click OK to create a new test suite:
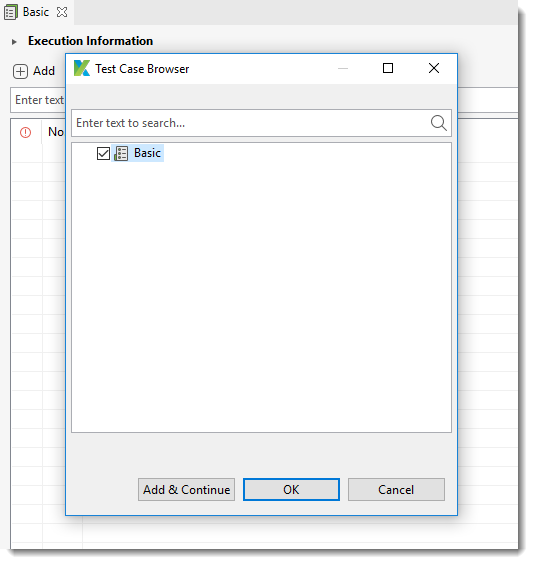
From the test suite UI, click the Add button and check the “Basic” test case then press OK to generate the report
Execute this test suite as we did with our test case by clicking on the Execution toolbar. After the execution, you will notice that a new report folder is generated. In this folder, each of the child items represents an execution with the name indicating the starting time of the execution. Click on the first report item to view it.
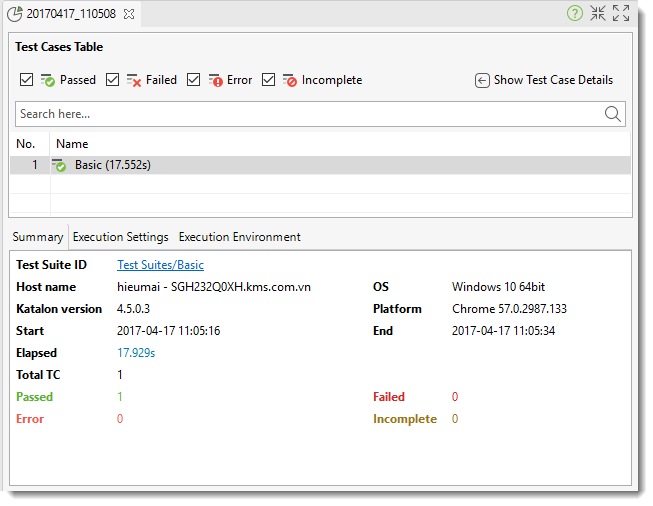
The test report’s detail is shown as below (with “Show Test Case Details” selected)
Congratulation on your first automation test case. For additional tutorials and guidelines, please visit Katalon Studio documentation (https://goo.gl/7txTwv). If you have any questions for your projects or recommendation for the tool, feel free to join the Forum (https://forum.katalon.com/) and chat with the other users.
About the Author:
Hieu Mai
Currently working as a senior full-stack developer for KMS Technology, Hieu Mai is one of the developers behind Katalon Studio. With 5 years’ experience in Desktop & Mobile application development and automation testing, Hieu brings this expertise to develop Katalon Studio.
Contact him at hieumai@kms-technology.com
