SoapUI is a cross-platform application, and we can use it on either Windows, Mac or Linux/Unix, according to the requirement and preferences. Subsequently, in this tutorial, we will cover How to install SoapUI on Windows and Mac along with the following topics:
- What system configurations are needed to kickstart with SoapUI?
- How to install SoapUI?
- How to download SoapUI?
- Procedure to install SoapUI on Windows?
- How to install SoapUI on MacOS?
What system configurations are needed to kick start with SoapUI?
The System configuration specifies the configurations of a given computer system, from the perspective of hardware and software components and various other processes that run within the system. Additionally, each new application or tool depends on these system's configuration, whether it will be able to run on that computer system or not. Similarly, SoapUI also needs some basic configurations on the system, where we are planning to run the SoapUI tool.
Below are the minimum requirements(as per the official SoapUI website) to run SoapUI on various platforms:


Before downloading and installing the SoapUI on your computer system, ensure the availability of the hardware, as mentioned above. Additionally, make sure that the software configurations are as per the operating system of your machine.
How to install SoapUI?
As discussed in the previous chapter, SoapUI comes in two flavors: SoapUI Open Source and SoapUI Pro. Subsequently, in this series of articles, we will be covering all the details using the Open Source version. So, let's start with downloading the open-source version.
How to download SoapUI?
Follow the steps mentioned below to download the "SoapUI Open Source" version as per your operating system:
1.Firstly, navigate to https://www.soapui.org/downloads/soapui.html
- Secondly, click on the "Download SoapUI Open Source" button, as shown below:
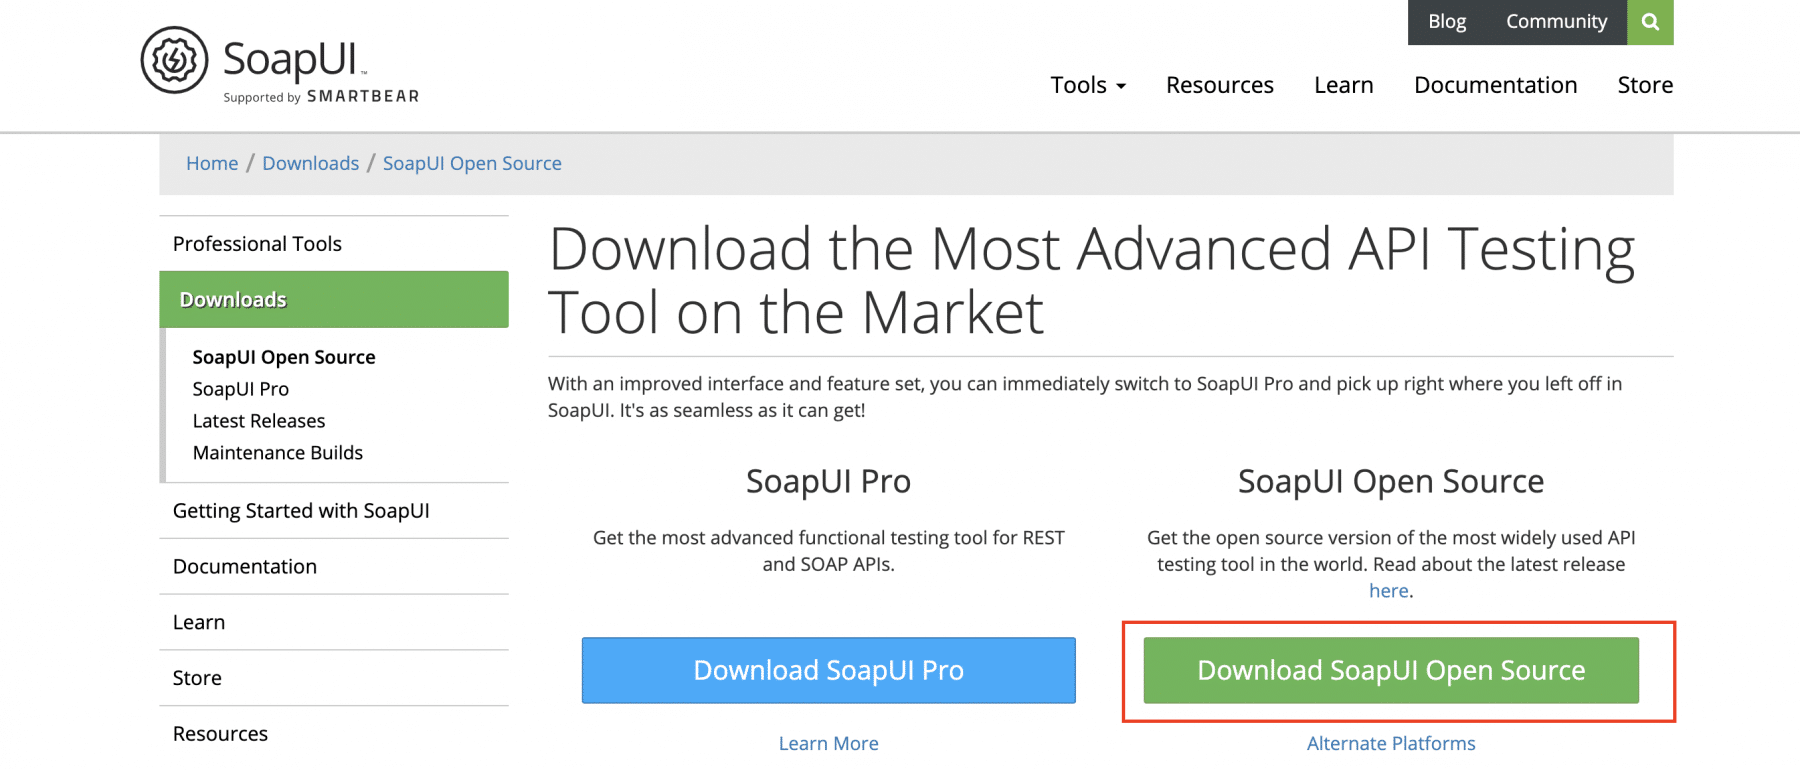
It will automatically download the executable specific to your platform, as shown in below gif-files.
The below gif shows the downloading of SoapUI Open Source on windows:
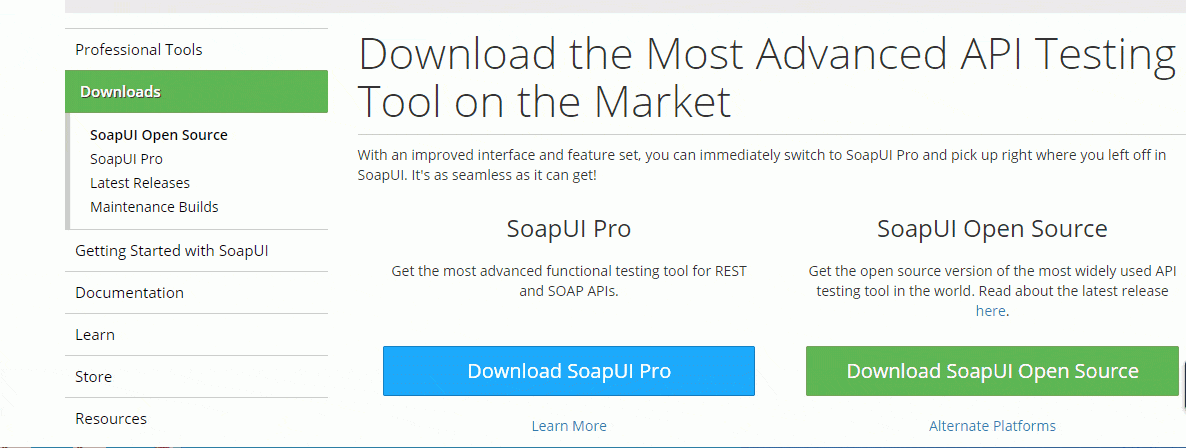
As we can see, it automatically identifies your operating system and downloads the ".exe" file.
The below gif shows the downloading of SoapUI Open Source on MacOS:
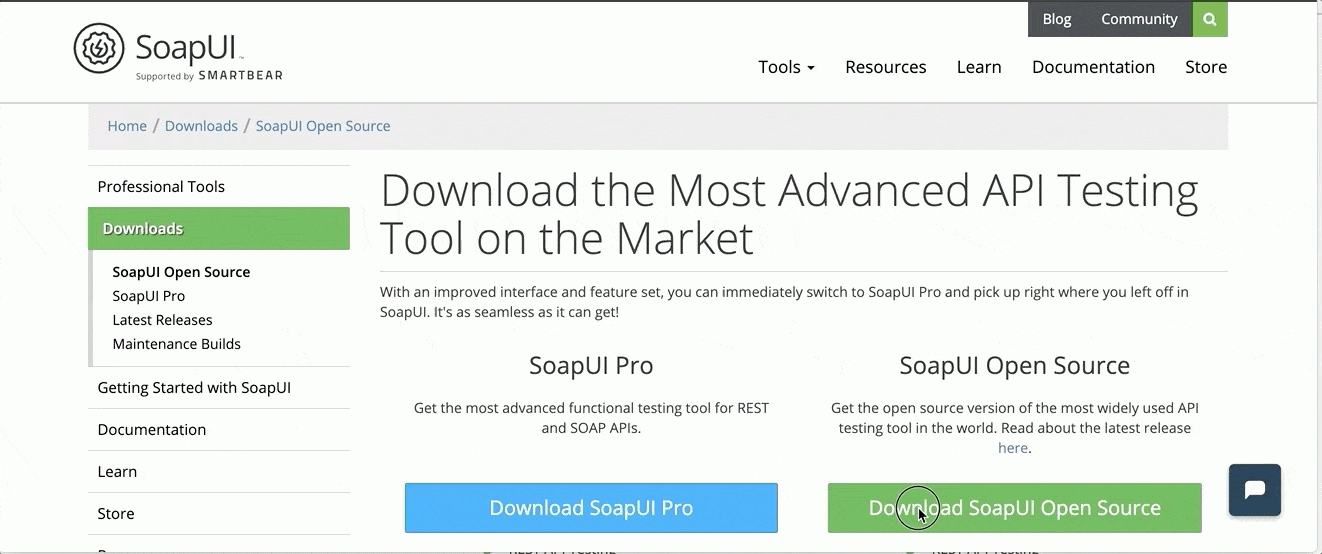
As we can see, it automatically identifies your operating system and downloads the ".dmg" file.
Finally, after downloading the SoapUI, let's install it using the below-mentioned steps as per your operating system.
How to install SoapUI on Windows?
After downloading the installer executable, just double click it to launch the installation wizard and follow the steps mentioned below to install SoapUI on windows:
- Firstly, double click the installer file. It will start the installer, as shown below:
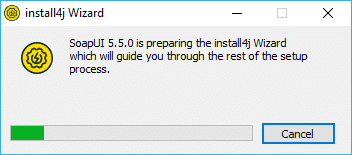
- Secondly, it will launch the first screen of the Setup wizard, as shown below:
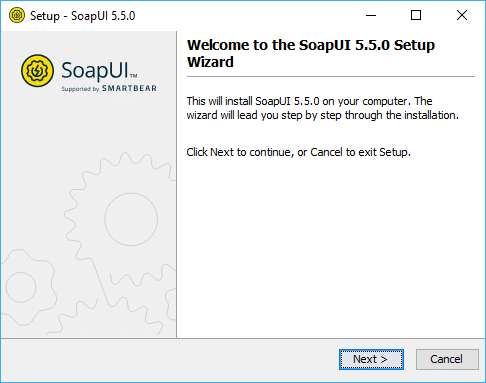
- Thirdly, click "Next" and specify the destination folder, as shown below:
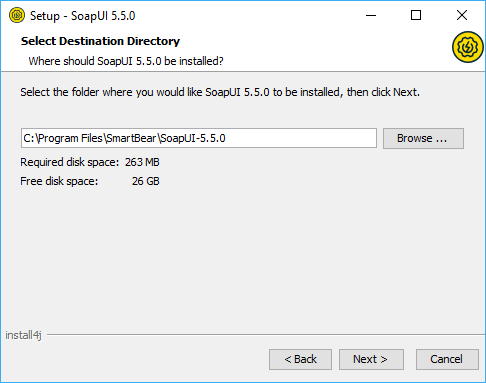
- Fourthly, select the optional components such as "source files", "HermesJMS", and "Tutorials", as shown below:
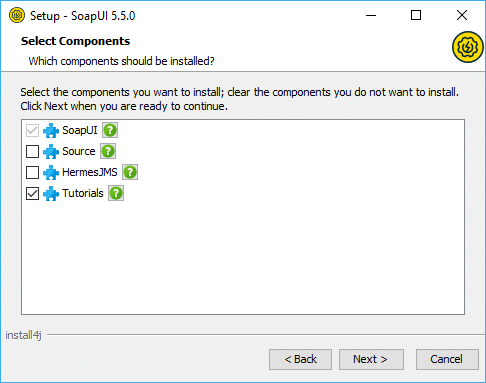
Note: There are three components that you can optionally choose.
- First, the source component contains the complete source code for the SoapUI tool. Install this component, and you can explore the SoapUI source code.
- Second, the tutorials component provides the SoapUI tutorial related files. If you select this option, you will get the next screen to specify the path of the tutorials.
- The third is the HermesJMS component if you want to test the Java Messaging Service.
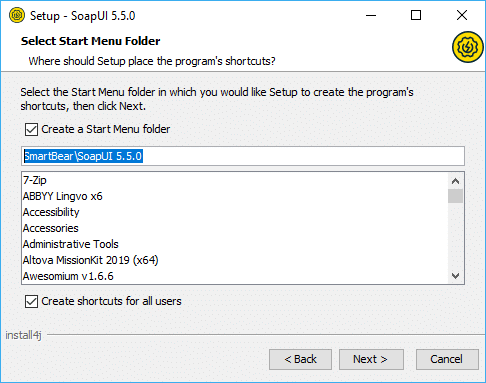
- After that, select the name of the "Start-up" menu to add the SoapUI shortcut as shown below:
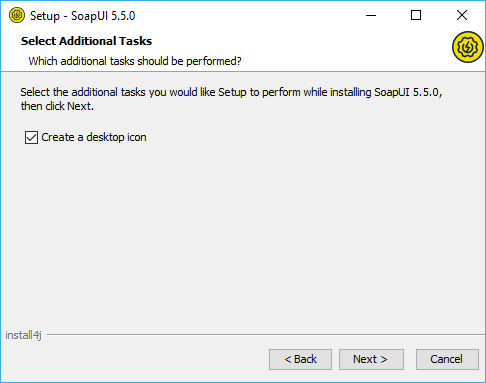
- Sixthly, create the "desktop" shortcut by clicking the checkbox as shown below:
- Seventhly, click the "Next" button to start the installation:
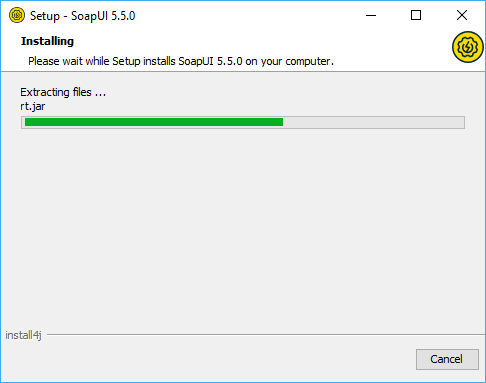
- Lastly, after a successful installation, you will see the final screen, as shown below:
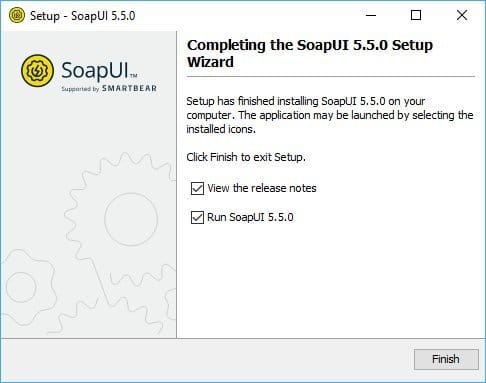
- Finally, click on the "Finish" button, and it will launch the SoapUI.
How to install SoapUI on MacOS?
The SoapUI installation on Windows and macOS is almost the same with minor differences specific to the operating system. Follow the steps mentioned below to install SoapUI open-source on MacOS:
- Firstly, double click on the installer to launch the installer. It will show the first screen, as shown below:
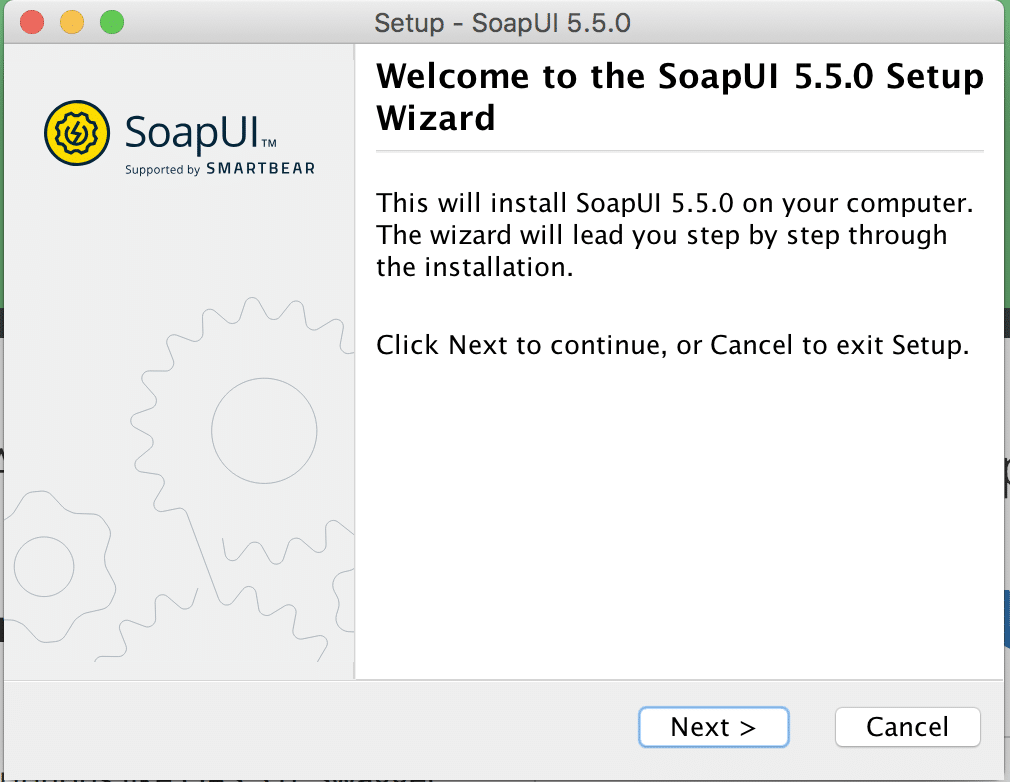
- Secondly, click on Next Button. By default, it will show the "/Applications" directory, but you can choose the directory in which you want to install SoapUI.
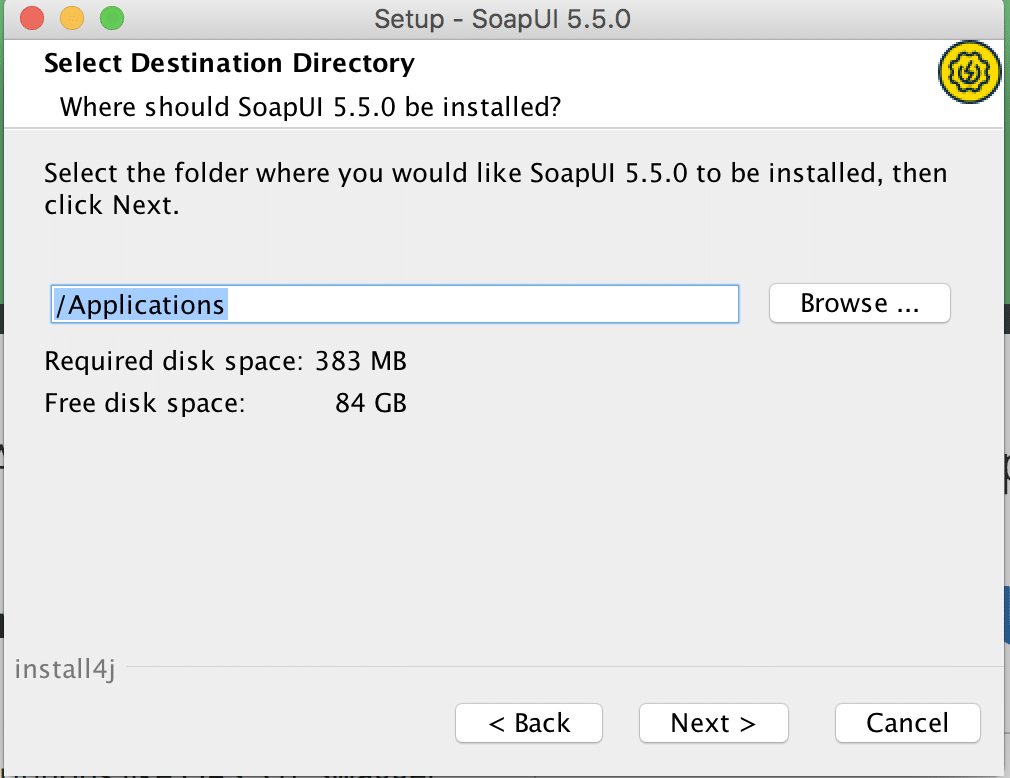
- Thirdly, click on the "Next" button and select the additional components you want to install.
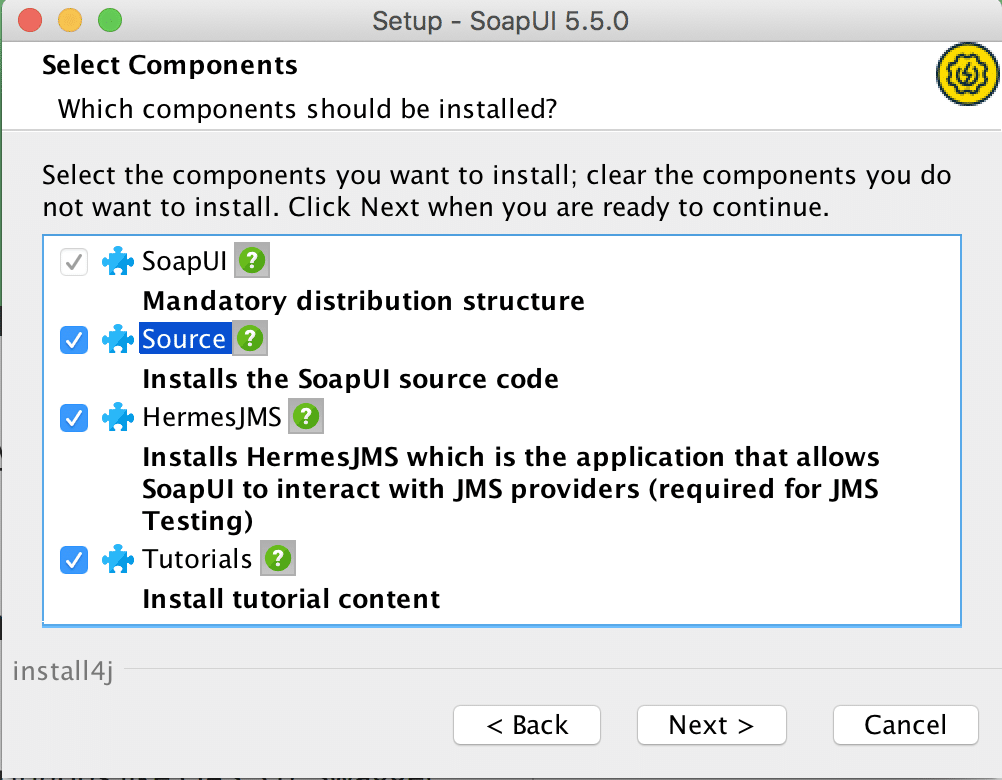
Note: There are three optional components that you can optionally choose.
- First, the source component contains the complete source code for the SoapUI tool. Install this component, and you can explore the SoapUI source code.
- Second, the tutorials component provides the SoapUI tutorial related files. If you select this option, you will get the next screen to specify the path of the tutorials.
- The third is the HermesJMS component if you want to test the Java Messaging Service.
- After clicking "Next", check ‘Create a desktop button’ on the next screen, if you want an icon to access SoapUI from desktop and click next quickly.
![]()
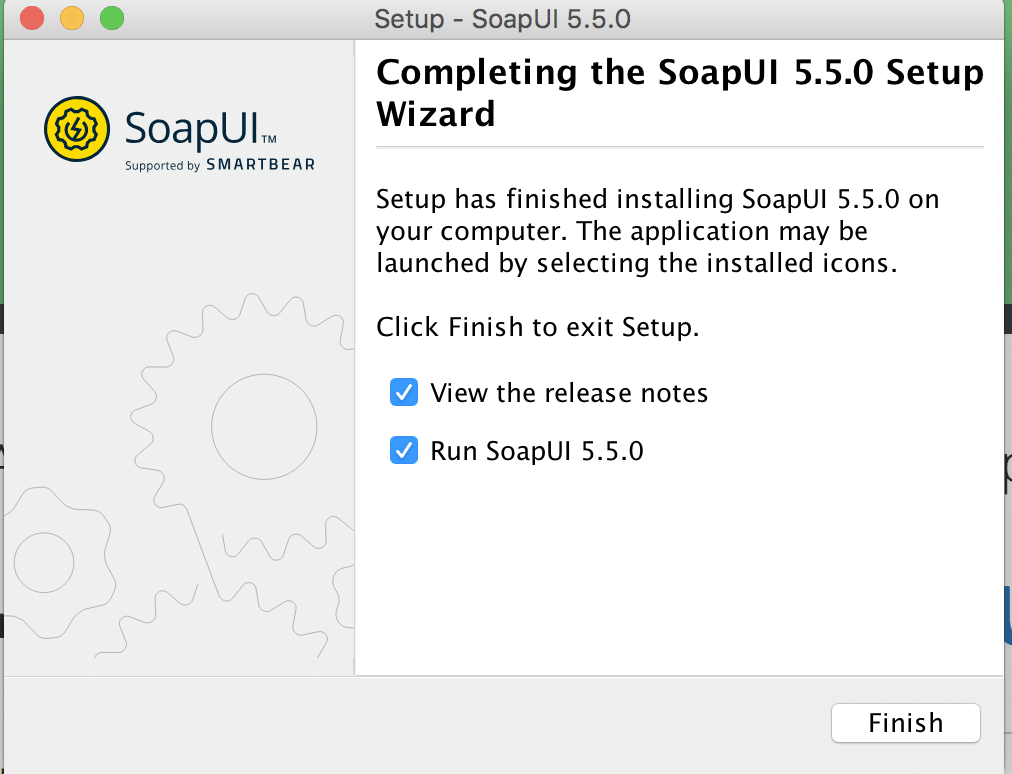
- Fifthly, click on the "Next" button to continue. It will lead to the final installation screen, as shown below:
-
Sixthly, click on the ‘Finish’ button to complete the installation.
-
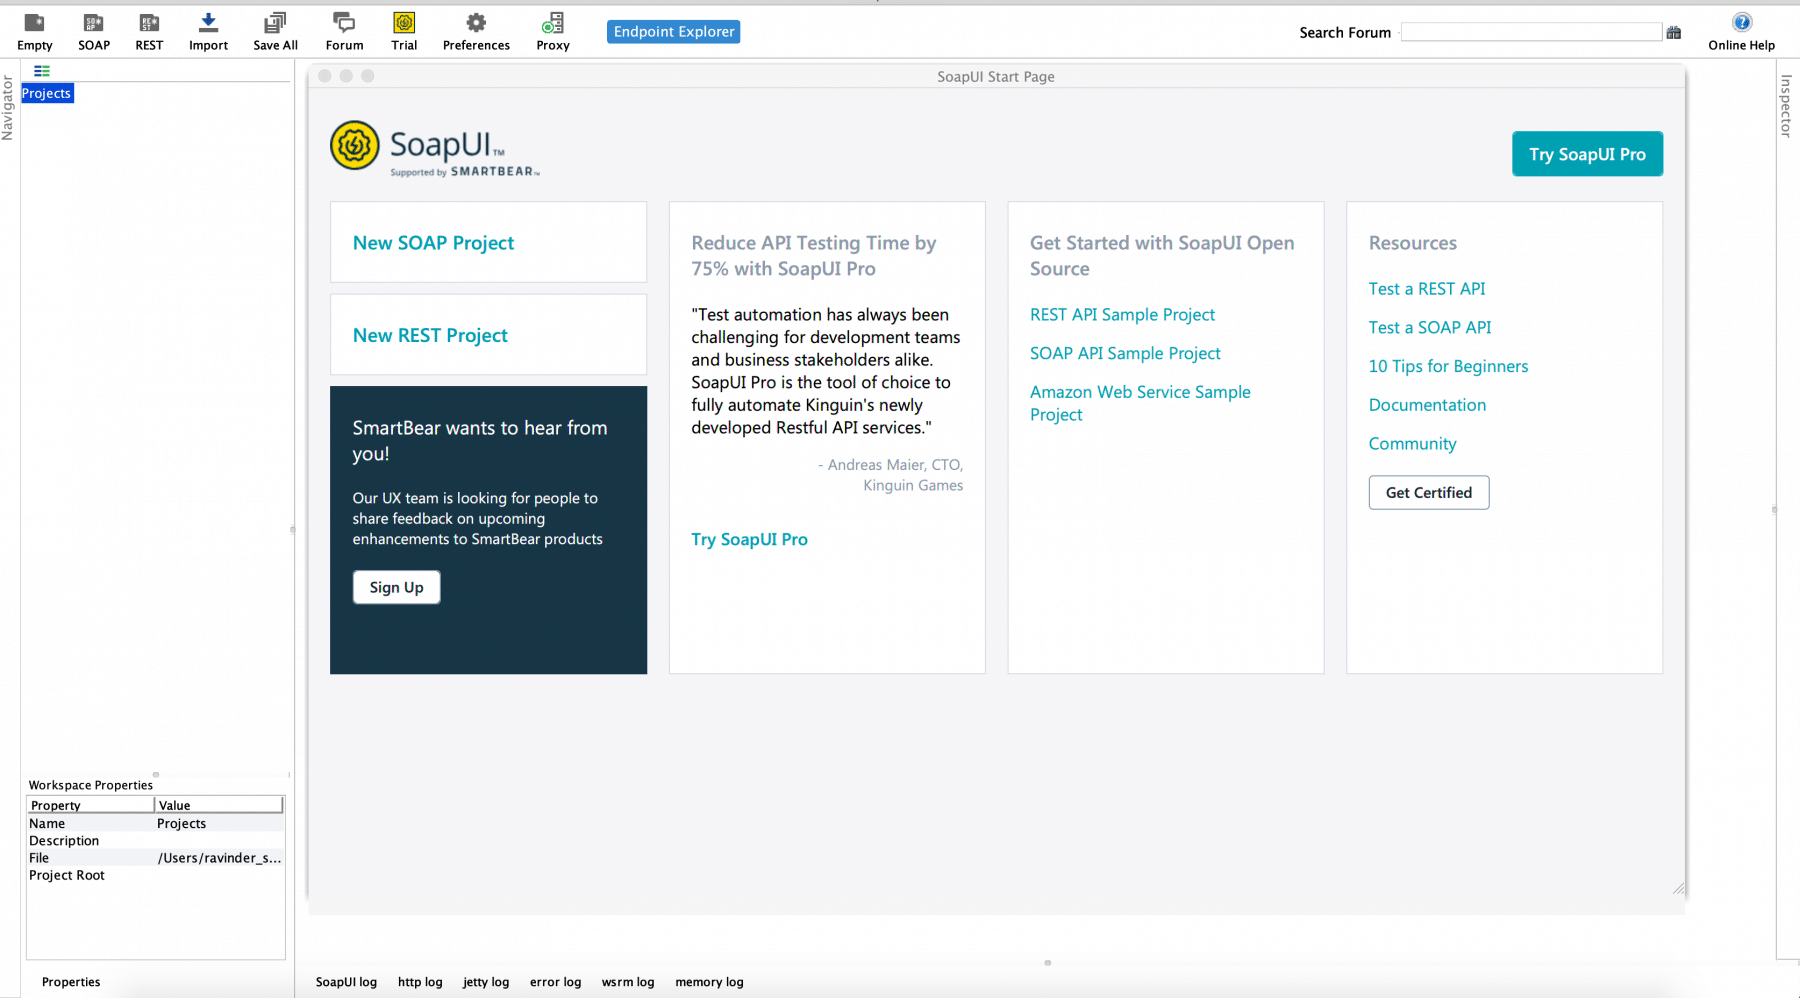
After the installation completes, it will launch the SoapUI, and the initial screen will look as follows:
So, now you are all set up with the successful installation of SoapUI. We will leave it to you to navigate other options for meanwhile. Additionally, we will go through the features of the SoapUI in further articles.
Key Takeaways
- Like all other applications, SoapUI also adheres to specific system requirements that need to validate before downloading and installing SoapUI on any platform.
- Additionally, you can download the SoapUI from its official website, and it automatically downloads the installer specific to your operating system.
- Moreover, installing SoapUI is a straightforward wizard-based process, and the wizard guides all the steps for a successful installation.
Now before jumping to actual test automation using SoapUI, in the next article, let's understand what is a SoapUI Project and what details does it provide?


